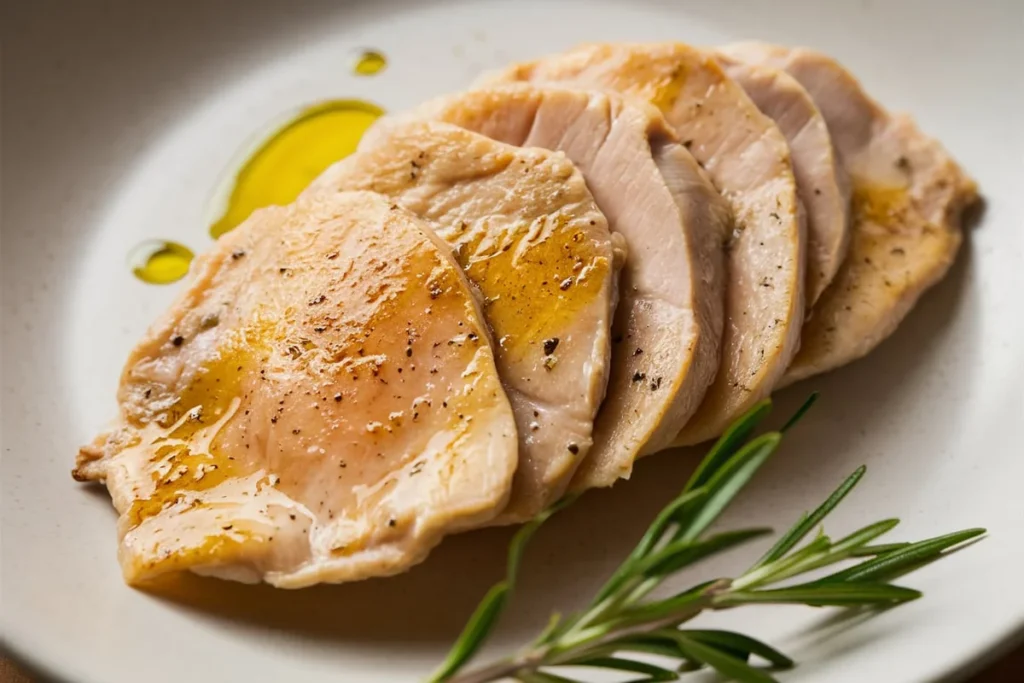
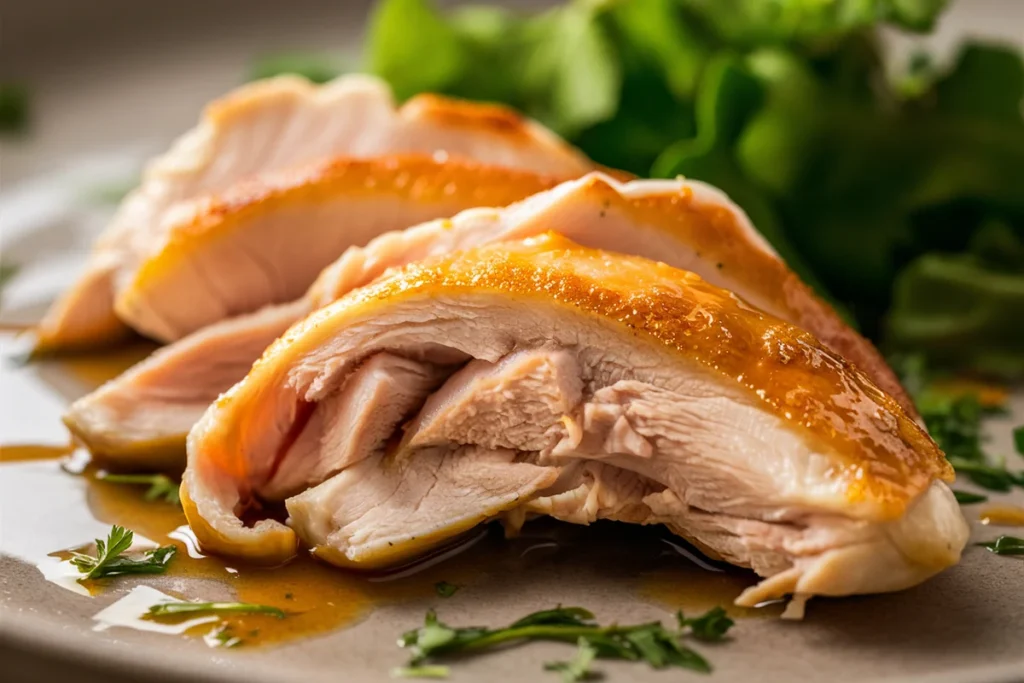
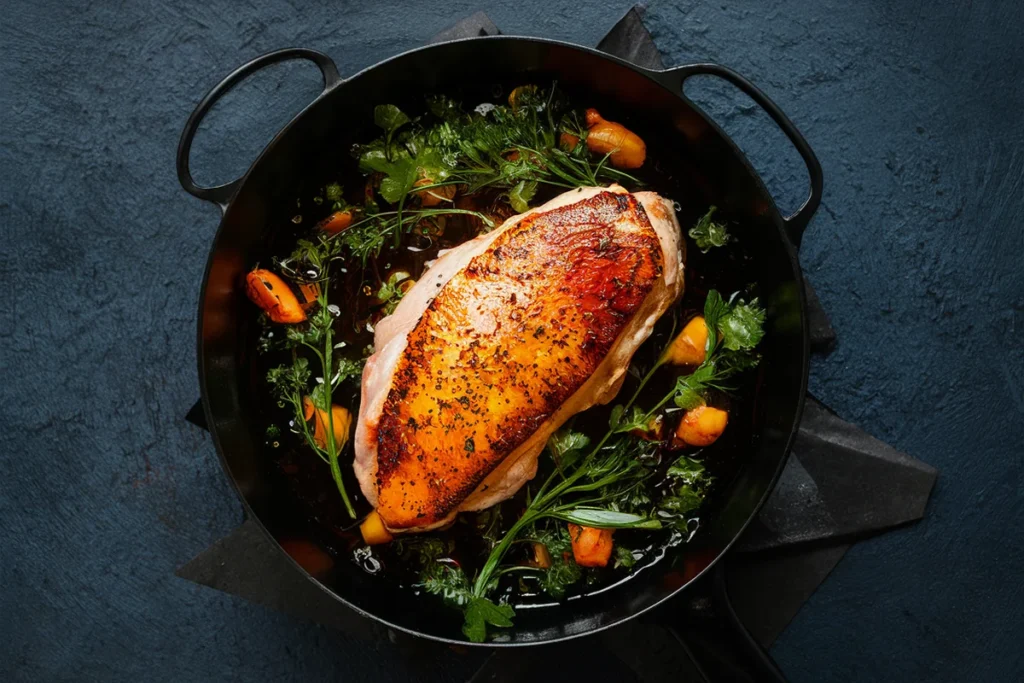
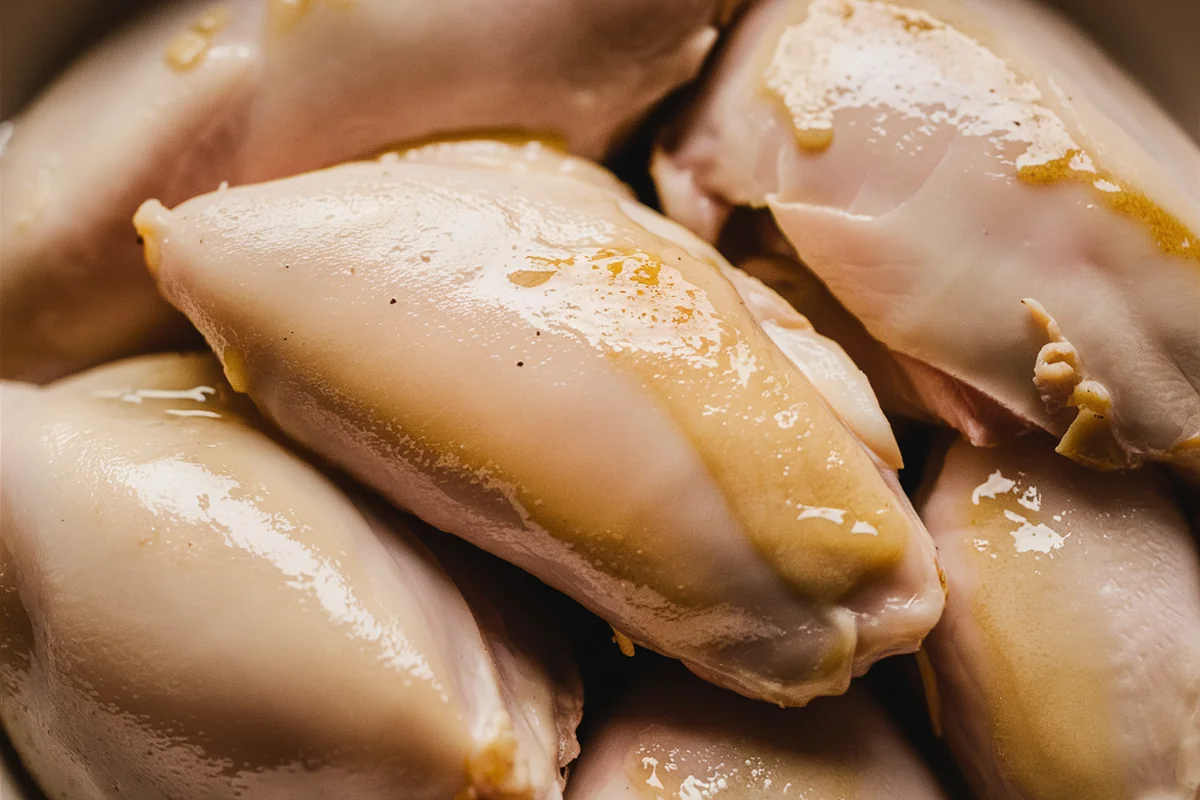
Cooking thin chicken breasts can be tricky, as they often dry out quickly due to their delicate structure. If you’ve ever wondered how to keep thin chicken breast moist, this article is for you. We’ll explore various techniques to ensure your chicken remains juicy and tender every time you cook it. Keep thin chicken breast moist with simple tips. Avoid dryness and enjoy juicy, tender chicken every time. How do you keep thin chicken breast moist?
Understanding the Science Behind Moisture in Chicken Breast
Thin chicken breasts are particularly susceptible to drying out due to their lower fat content and higher surface area. When exposed to high heat, the proteins in the chicken contract, squeezing out moisture and leaving the meat dry. To avoid this, it’s essential to use cooking methods that lock in moisture and prevent the chicken from losing its natural juices.
The Role of Protein Structure in Moisture Retention
Proteins in chicken breast, like all meats, play a crucial role in moisture retention. When heat is applied, these proteins coagulate, causing the meat to firm up. If overcooked, these proteins contract too much, squeezing out the water content and leaving the chicken dry. This is especially true for thin chicken breasts, which cook quickly and are more prone to overcooking.
The Impact of Fat Content
Unlike thighs or drumsticks, chicken breasts have less fat, which means they have less natural protection against drying out. Fat acts as a barrier, helping to retain moisture within the meat. This is why cooking methods that add fat—like marinating in oil or basting with butter can be particularly effective for keeping thin chicken breasts moist.
Pre-Cooking Techniques to Maintain Moisture
Before you even start cooking, there are several steps you can take to ensure your thin chicken breast stays moist:

Proper Slicing of Chicken Breasts
- Uniform Thickness: One of the most common mistakes when preparing thin chicken breasts is failing to ensure uniform thickness. Uneven pieces of chicken will cook at different rates, leading to some parts being overcooked and dry while others are undercooked. To achieve even cooking, use a sharp knife to slice the chicken breast horizontally, starting from the thicker side and working your way to the thinner side.
- Butterflying the Chicken: If you find it difficult to slice the chicken evenly, consider butterflying the breast. This involves cutting the chicken breast in half horizontally, without cutting all the way through, and then opening it up like a book. This technique ensures that the chicken is of even thickness, allowing it to cook more uniformly.
The Importance of Brining
Brining is a method that involves soaking the chicken in a saltwater solution before cooking. This process enhances the flavor and helps the chicken retain moisture during cooking.
- Wet Brining: Wet brining is the most common method and involves submerging the chicken in a solution of water, salt, and sometimes sugar and spices. The salt in the brine dissolves some of the muscle proteins, allowing the meat to absorb more water. This means that even if some moisture is lost during cooking, the chicken will still remain juicy. A basic wet brine recipe involves dissolving 1/4 cup of salt in 4 cups of water. You can add sugar, garlic, herbs, and spices to enhance the flavor. The chicken should be brined for at least 30 minutes, but for best results, leave it in the brine for up to 4 hours.
- Dry Brining: Dry brining involves rubbing the chicken with salt and allowing it to sit uncovered in the refrigerator for a few hours. This method draws out moisture from the chicken, which then gets reabsorbed, resulting in a more concentrated flavor. Dry brining also helps achieve a crispier skin if you’re roasting or grilling the chicken.
Marination Tips
Marination not only adds flavor but also helps in keeping the chicken moist by forming a protective layer on the surface of the meat.
- Oil-Based Marinades: Oils like olive oil or avocado oil are excellent bases for marinades. They coat the chicken, preventing moisture loss during cooking. Additionally, oil helps distribute fat-soluble flavor compounds from herbs and spices throughout the meat.
- Acidic Marinades: Ingredients like lemon juice, vinegar, or yogurt can help tenderize the meat. However, it’s essential not to marinate the chicken for too long in acidic mixtures, as they can start to “cook” the meat, leading to a mushy texture. Aim for no more than 1-2 hours for thin chicken breasts.
- Adding Aromatics: Herbs, garlic, and spices can be added to the marinade to infuse the chicken with flavor. Fresh herbs like rosemary or thyme work particularly well, as do spices like paprika and cumin.
Best Cooking Methods for Keeping Thin Chicken Breast Moist
Once your thin chicken breast is prepped, the cooking method you choose will significantly impact moisture retention. Below are some of the best methods to achieve a perfectly moist thin chicken breast:

How to Pan-Fry Thin Chicken Breast and Keep It Moist
Pan-frying is a quick and effective way to cook thin chicken breasts. To avoid drying out and ensure a moist thin chicken breast, make sure to:
- Use the Right Pan: A heavy-bottomed pan, such as cast iron, is ideal for pan-frying. It distributes heat evenly and retains it well, ensuring the thin chicken breast cooks uniformly.
- Oil the Pan Generously: Using enough oil is crucial to prevent the thin chicken breast from sticking and to form a golden crust that locks in moisture. Olive oil, vegetable oil, or a combination of butter and oil are great choices.
- Control the Heat: Start with medium-high heat to sear the chicken, then reduce it to medium to finish cooking. This method ensures that the thin chicken breast is cooked through without burning the exterior.
- Avoid Overcrowding: Cook the thin chicken breast in batches if necessary. Overcrowding the pan can lower the temperature, leading to steaming rather than frying, which can make the chicken soggy instead of crispy.
Oven-Baking Techniques for Moist Thin Chicken Breast
Oven-baking can be tricky with thin chicken breasts because of the risk of overcooking. Here’s how to do it right and keep your thin chicken breast moist:
- Preheat Your Oven: Always preheat your oven before baking. This ensures that the thin chicken breast starts cooking immediately, reducing the time it spends in the oven and helping to retain moisture.
- Use a Cooking Thermometer: The internal temperature of thin chicken breasts should reach 165°F (74°C) to be safe to eat. A cooking thermometer ensures you don’t overcook the chicken, helping to maintain a moist thin chicken breast.
- Cover with Foil: To prevent the thin chicken breast from drying out, cover it with foil during baking. This traps steam and creates a moist cooking environment. If you prefer a crispy exterior, remove the foil during the last few minutes of cooking.
- Bake in a Broth: Adding a small amount of chicken broth or stock to the baking dish can add moisture and flavor to the thin chicken breast. The broth keeps the chicken moist as it bakes and can be used to create a simple sauce afterward.
For more detailed advice on oven-baking, Knorr provides excellent insights into keeping chicken breast from drying out.
Grilling Thin Chicken Breast Without Losing Moisture
Grilling can add a great flavor to thin chicken breasts, but it also carries the risk of drying out. Here are some tips to ensure your thin chicken breast stays moist:
- Preheat the Grill: Make sure your grill is preheated to a high temperature. This will sear the thin chicken breast quickly, locking in the juices.
- Use a Two-Zone Fire: Create a two-zone fire on your grill by placing the coals on one side (for direct heat) and leaving the other side empty (for indirect heat). Start cooking the thin chicken breast over direct heat to sear it, then move it to indirect heat to finish cooking without burning the outside.
- Baste Frequently: Basting the thin chicken breast with oil, butter, or marinade while grilling helps keep it moist. You can use a brush to apply the basting liquid every few minutes.
- Monitor the Temperature: Grilled thin chicken breast can dry out quickly if overcooked. Use a meat thermometer to check the internal temperature and remove the thin chicken breast from the grill when it reaches 160°F (71°C). It will continue to cook slightly after being removed from the heat, reaching the safe temperature of 165°F (74°C).
Sous Vide Cooking
Sous vide is a method where the chicken is vacuum-sealed and cooked in a water bath at a precise temperature. This technique is almost foolproof when it comes to keeping thin chicken breasts moist:
- Precision Cooking: The sous vide method allows for precise temperature control, meaning the chicken will never get hotter than the water bath. This eliminates the risk of overcooking and ensures that the chicken remains moist and tender.
- Flavor Infusion: Because the chicken is sealed in a bag, all the flavors from any seasonings or marinades are locked in, leading to a more intense flavor.
- Quick Sear After Cooking: After the chicken is cooked through sous vide, quickly sear it in a hot pan to add some color and texture. This step is optional but adds a nice contrast to the tender meat.
Post-Cooking Techniques to Preserve Moisture
Even after the chicken is cooked, there are steps you can take to maintain its moisture:

Resting Period
Allowing the chicken to rest after cooking is essential. Resting lets the juices redistribute throughout the meat, making it juicier when sliced. Aim to rest your chicken for at least 5 minutes before cutting.
- Covering During Resting: Cover the chicken loosely with foil during the resting period to keep it warm without causing it to steam, which could make the exterior soggy.
- Juice Redistribution: As the chicken rests, the juices that have been driven to the center during cooking will redistribute throughout the meat, ensuring every bite is moist.
Proper Slicing After Cooking
When it’s time to serve, slice the chicken against the grain. This reduces the length of the muscle fibers, making each bite more tender and juicy.
- Using a Sharp Knife: A sharp knife is crucial for slicing chicken breasts. A dull knife can tear the meat, causing you to lose precious juices.
- Slice Thinly: Thinner slices mean more surface area, which can help the chicken retain its juiciness. Additionally, thin slices are easier to chew and enjoy.
Common Mistakes to Avoid When Cooking Thin Chicken Breasts
Avoid these common pitfalls to ensure your chicken turns out perfectly:
Overcooking
Thin chicken breasts cook quickly, so it’s easy to overcook them. Overcooking is the number one reason for dry chicken. To avoid this:
- Keep an Eye on the Time: Thin chicken breasts generally only need about 2-3 minutes per side when pan-frying and around 15-20 minutes when baking.
- Use a Thermometer: Check the internal temperature of the chicken to avoid overcooking. The USDA recommends an internal temperature of 165°F (74°C), but if you remove the chicken from the heat at 160°F (71°C), it will continue to cook as it rests, reaching the safe temperature.
Neglecting Brining or Marinating
Skipping these steps can result in dry, flavorless chicken. Brining and marinating are not just for flavor but also crucial for moisture retention. If you’re short on time, even a quick 30-minute marinade can make a significant difference.
Improper Slicing Techniques
Both before and after cooking, improper slicing can lead to uneven cooking and loss of moisture.
- Slice Evenly: Uneven slices can result in some parts being overcooked while others are undercooked. Take the time to slice the chicken breast evenly before cooking.
- Slice Against the Grain: This is especially important after cooking. Slicing against the grain shortens the muscle fibers, making the chicken easier to chew and more pleasant to eat.
FAQs
What is the best way to keep chicken breast moist?
Brining and marinating are key pre-cooking techniques. Additionally, cooking methods like sous vide and careful pan-frying help retain moisture. Using techniques that maintain a moist cooking environment, such as covering with foil or basting, also contribute to juicier chicken.
How long should I brine thin chicken breasts?
Thin chicken breasts only need about 30 minutes to 1 hour of brining to absorb enough moisture without becoming overly salty. For a quick brine, dissolve 1/4 cup of salt in 4 cups of water and soak the chicken. If you have more time, consider a 4-hour brine for even better results.
Can I use the same methods for frozen thin chicken breasts?
Yes, but ensure they are fully thawed before cooking to avoid uneven cooking and dryness. Thawing the chicken in the refrigerator overnight is the safest method. If you’re in a hurry, you can thaw it in cold water, changing the water every 30 minutes.
What is the ideal temperature to bake thin chicken breasts?
Aim for 375°F (190°C) and check for doneness after 15-20 minutes. Using a meat thermometer to ensure the chicken reaches an internal temperature of 165°F (74°C) is crucial for both safety and ensuring the meat stays moist.
How do I prevent my chicken from drying out during grilling?
Grill quickly over high heat, and baste frequently with oil or marinade. Consider using a two-zone grilling method to sear the chicken first, then move it to indirect heat to finish cooking without burning the outside.
Conclusion
Keeping thin chicken breast moist requires attention to detail, from the slicing and brining stages to the final resting and slicing. By applying these techniques, you’ll be able to enjoy juicy and flavorful chicken every time. Whether you choose to pan-fry, bake, grill, or sous vide, the key is in understanding the process and avoiding common mistakes. With the right preparation and cooking techniques, you can master the art of cooking thin chicken breasts to perfection. Now, go ahead and give these methods a try for your next meal!
